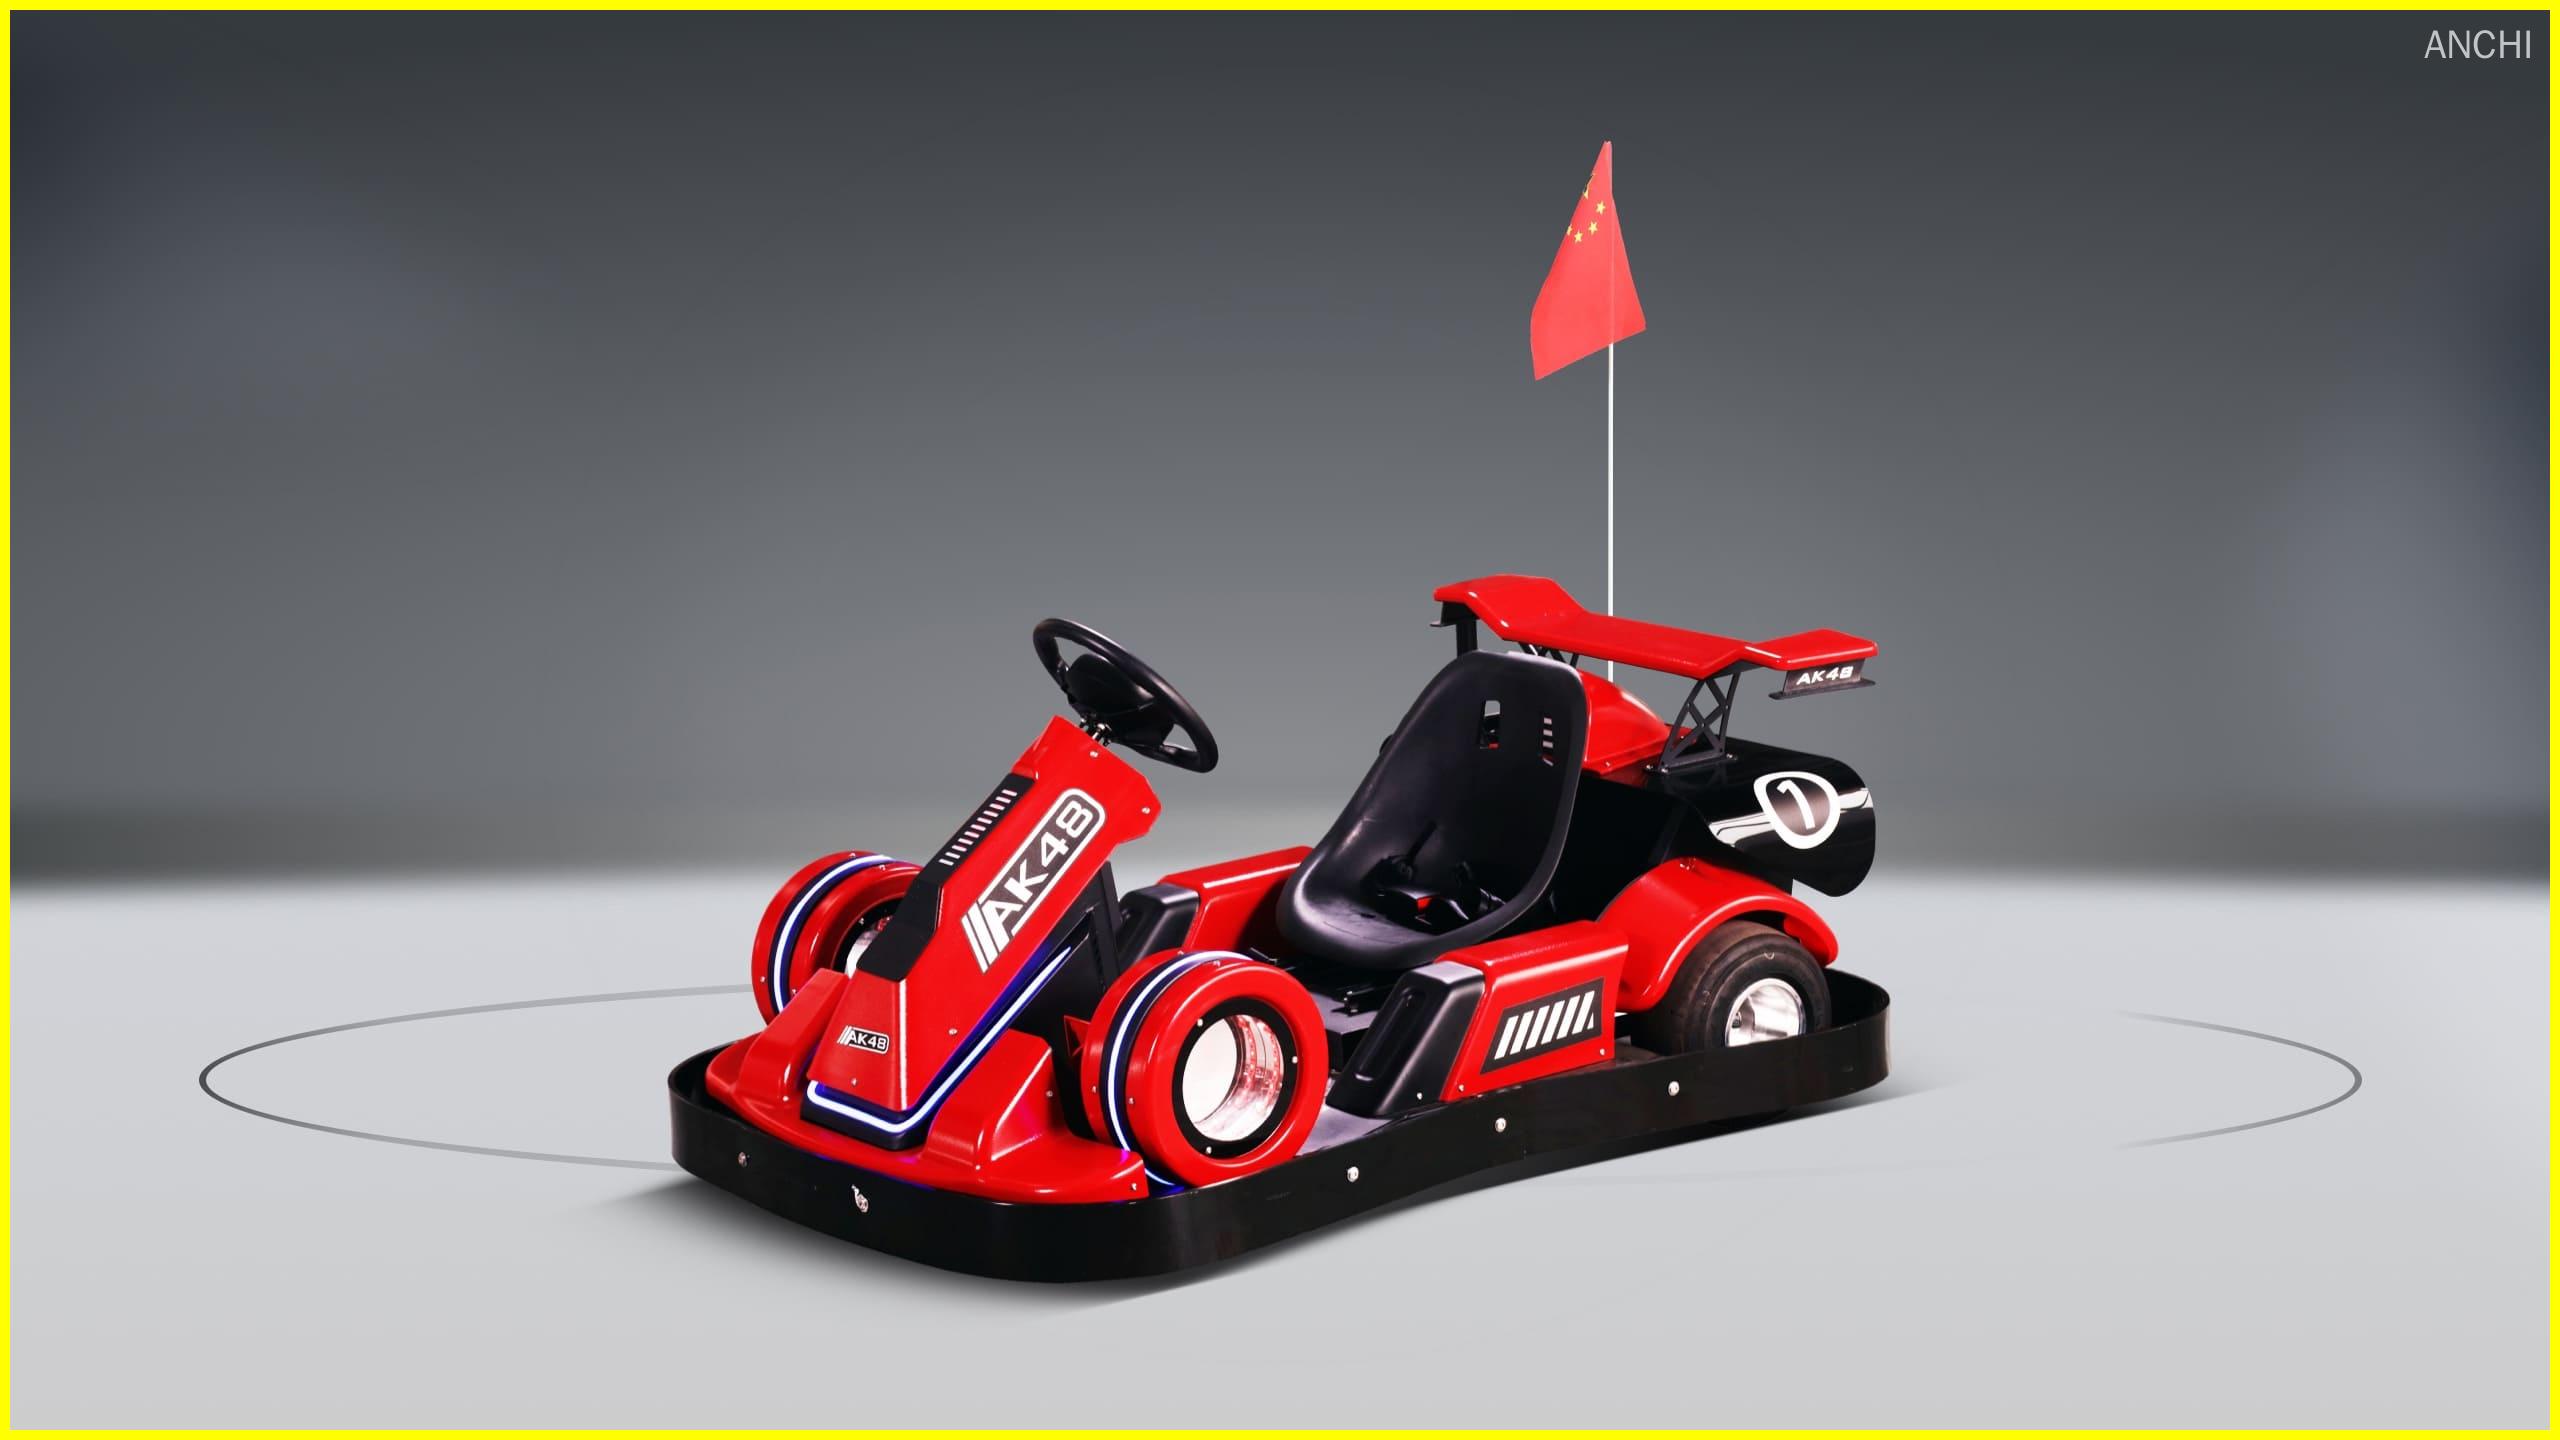
How to Build a Go-kart Frame
Discover the essential steps to crafting a durable Go-kart Frame with ANCHI. Our detailed guide ensures you have the right materials and techniques for a safe and efficient build. Trust ANCHI expertise for your DIY Go-kart adventure. Enhance your knowledge and skills today!
It is very rewarding to personally build the go-kart frame, but then again, it must be well planned, constructed and the appropriate materials used. Beginners often find it hard to begin a project, and here is a simple guide to building the basic go-kart frame. This will take an outline of the basic procedures, equipment, and materials that are necessary in the construction of a basic, strong and usable go-kart frame.
Materials Needed:
Steel Tubing: Generally for frame structure, 1-inch steel tubing in either square or round form is employed in construction. The materials that are typically used on DIY go-kart frames include mild steel.
Welding rods or wire, whichever is applicable, depends on the welding process that you are going to use.
This model is used by go-karts leveraging the rear axle.
Front and rear suspension parts may be supplied depending on the design and application.
Wheels and tires.
Axle Steady rest, Bearings (to attach the wheels in position).
Steering Components: Wheel, column or link.
Disc brakes or drum brakes, which include the brake system.
Bolts, nuts, and washers.
Go-Kart Seat: Most of the time just a basic plastic or fiberglass-molded chair.
Tools Needed:
Light tools such as a welding machine (MIG or TIG welder for metal work).
Angle Grinder (for cutting and sharpening edges only).
Measuring Tape.
Pipe Bender (if the rod is used as round tubes).
Drill (for holes).
An angle iron or square tubing cutter is also involved in the process, out of which the users should be cautious.
Car Jack and Stands; for raising and supporting the frame.
Wrenches and socket set.
Cliques (to keep parts steady during welding).
Step-by-Step Guide:
1. Design Your Go-Kart Frame
Decide on the Type: Decide as to whether you are constructing a simple framework of a structure or one that is associated with suspension. In this case, beginners find it relatively easy to construct a rather fixed structure.
Frame Layout: Determine the dimensions, the length of each tube used in the construction of the frame, and angles by drawing its basic layout. Blueprints for frames are available to purchase on the internet, or you can build your own with regards to the size of the go-kart you prefer and usage (leisure, racing, off-road).
Measure: The dimensions of the frame must correspond in size to other parts of the equipment, such as the wheels, axle, engine, and seat.
2. Cutting the Tubing
Frame Pieces: Cut and mark the levels of steel tubing that will be required to be used in building the frame work.
The main components of the frame are:
Main horizontal rail: Provides linkage between the front and rear axles of a vehicle.
Side rails: Attach the main rail to build the sides of the kart.
Cross members: Place stability again between the side rails.
Angle Cutting: If the joints are at an angle, you have to use the pipe cutter or angle grinder for smooth and sharp joins. Angles commonly used need to be 45° or 90° to fit right into the assembly.
3. Welding the Frame
Fit the Pieces Together: Begin by securely fixing side rails on the subsequent main horizontal rail. Ensure everything is square.
Weld the Joints: When framing is complete, the welding of the joints begins. A MIG welder should be used for the initial welding work, or TIG if you want to get near professional standards. Welds should be strong and clean, and this provides the strength of the frame, hence the requirement of a clean weld.
Cross Members: The additional cross members used on the frame should be added in order to enhance the rigidity of the frame.
Check Alignment: It is recommended that one measure the frame often during the welding as he or she tries to achieve a square shape.
4. Install the Front and Rear Axles
Rear Axle: Weld or bolt brackets to the rear portion of the frame that is to support the rear axle. When the cart is upright, the axle should be parallel to the ground.
Front Axle: For diesel trucks and if employing a solid front axle, then the modified mounts should be welded into position. However, if you want steering, then the steering column of the car must be installed, as well as a rack-and-pinion arrangement or a much more basic linkage.
Bearings: Place the bearings in the axle mounts in order to enable the wheels to rotate without hindrance.
5. Add the Steering Mechanism
Steering Column: Fitting of a steering column that is mounted to the steering wheel. Screw the column safely in the frame.
Steering Links: Screw the steering rack onto the front axle as the final stage, or the steering rods if you have simplified it, as shown above. This enables the front wheel to swivel when the steering wheel is being rotated, such as the turning of the front wheels when the steering wheel is being rotated.
Wheel and Tie Rods: Secure the tie rods between the front wheels and the turning gadget for the front wheels to turn by turning the wheels.
6. Mount the Seat
Seat Frame: If your is a molded plastic or fiberglass seat, secure a strong metal structure that will support it. Place it in the cart in such a manner that the driver’s foot can have an easy time being on the pedals.
Mounting: Screw with bolts to ensure the correct fitting of the seat in the frame.
7. Install the Brake System
Brake Pedal: Fix the pedal to its location on the frame with the aspect that the driver will need to operate it with ease.
Brake Linkage: Mount the brake cables or hydraulic lines that are used to link the pedal to the brake system, normally disc or drum brakes at the rear.
Disc/Drum Brakes: In case of the wet disc, install the brake caliper on the rear axle and the disc on one of the rear wheels. For the drum brakes, use the drum around the axle, and the braking system is inside the drum.
8. Install the Wheels and Tires
Wheels: Screw the wheels on the axles, adjusting for bearings or bushings for ease of rotation. The wheels must also be positioned at the correct angle.
Tires: You should then fit the tires with the rims. There’s a recommendation that in choosing the frontend tires, especially if the kart will be used off-road, then it is best to put off-road tires because of the improved traction.
9. Install the Engine and Pedal System
Engine Mounting: Screw the engine at the back part of the frame to ensure it is well anchored to the rear axle of the vehicle.
Throttle Pedal: This, fit the throttle pedal and connect the part to the engine’s throttle body.
Chain and Sprockets: Find a suitable, then fit a chain or belt system from the engine to the rear axle. Make sure that the sprockets, if used, are properly oriented.
10. Test and Adjust
Safety Check: Make sure to visually examine all welded areas, bolts, and positions of one frame relative to the other and relative to components.
Test the Kart: Before full throttle, perform the kart at slow speeds so as to gauge the response of the steering, brakes, and the throttle.
Adjustments: Adjust any of the following as may be necessary: the steering, braking and suspension systems (in the case of an automobile).
Additional Tips:
Safety: (cloth, helmet, gloves, protective goggles) whenever one is welding or dealing with metallic objects.
Measurements: Make sure to take time and double check the measurements in order that all are aligned correctly.
Reinforcements: Strengthen critical areas that are most prone to increased stress, as found in the rear axle mounting and steering elements.
Constructing a go-kart frame is a great way to have some fun while independently putting together a sturdy core for your new go-kart, and just to remind you, the steps that you should take to complete the construction of a go-kart frame are:


